Insights


 Get ready for a more innovative way to manage your money with Insights.

With our new Money Manager tool, you can build a budget, stay on track, and set spending targets.

For more information on each update watch the video below.


Insights helps you understand your spending habits and will help
you build a more accurate budget.

Step 1: Navigate to Budgets Progress Tile.
Step 2: Click “View Budget.”
Step 3: Click “Add Budget.”
Step 4: Personalize your spending target by adding the monthly amount and item name (for example: “Baby Expenses”).
Choose the purchase category tags you want to include in this budget.


See down to the penny how much money you have coming in— and going out — each month. Simply log your income and
bills into the cash flow calendar. Here’s how:


Step 1: Navigate to the “Cashflow” section.
Step 2: Click the plus sign to add your income or bills.
Step 3: Put in your monthly income and expense amounts to calculate your monthly cash flow.


You can set up goals to help you plan ahead — like saving for a vacation or paying off credit card debt. Once that’s done your
Goal Summary will show you the completion date and the amount you need to save each month.

Step 1: Navigate to the “Goals” section and select “Add Goal.”

Step 2: Select your desired pay off or savings goal.

Step 3: Fill out the name of the goal, which accounts you’ll use and your target date.

Step 4: Click “Save.” Your goals will automatically update based on your progress and day-to-day account balance.


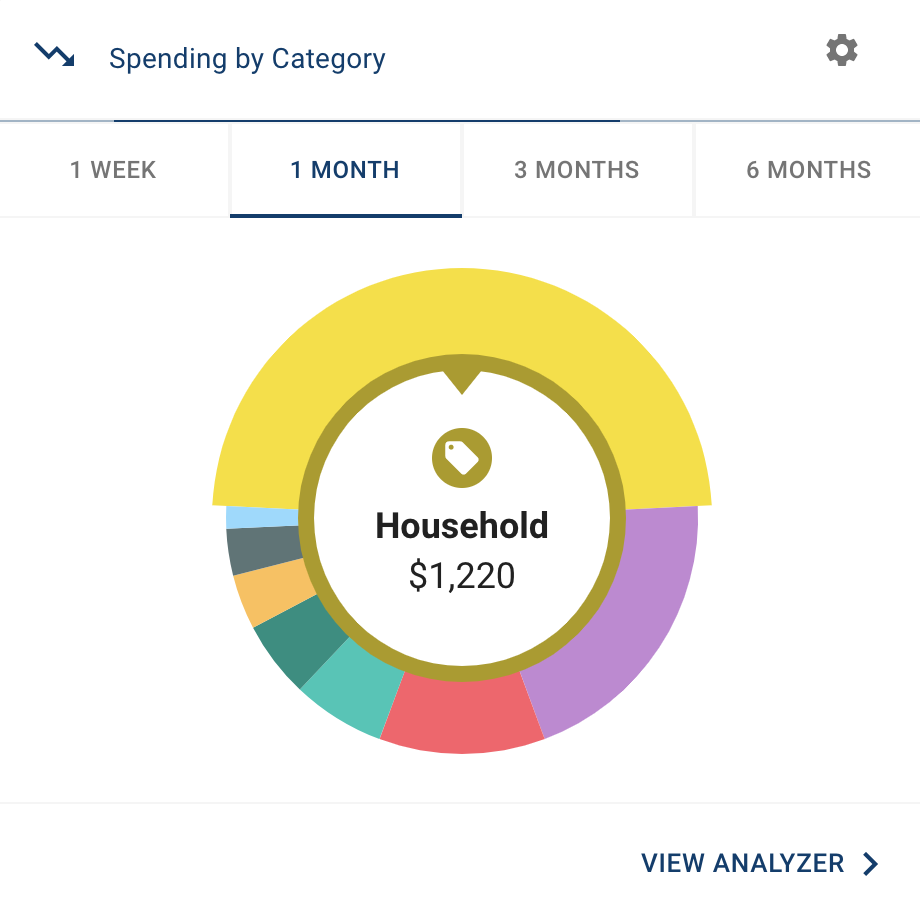
The dashboard displays your top spending category each month.


Step 1: Click different parts of the wheel to see your spending breakdown. Transactions are sorted automatically into these categories with ‘tags.’
Step 2: To personalize your categories, or split the transaction between tags, click on a transaction and edit the tag.
Step 3: When you select a transaction from the dashboard you can also change the name of the transaction, create a budget


Sync accounts from other financial institutions to be able to view all of your history. Once your account is linked your information will be updated daily!

Step 1: Navigate to the “Accounts” section.
Step 2: Click the plus sign to “Add Linked Account.”
Step 3: Select an institution or use the search to find your institution. Follow the prompts to add your institution.

Please note that transfers are unavailable between external accounts and Mainstreet.